Overview
This introduction assumes that you are already familiar with the basic concepts of a Petri Nets, if not please consider starting with the Introduction to Petri Nets sections TODO: .
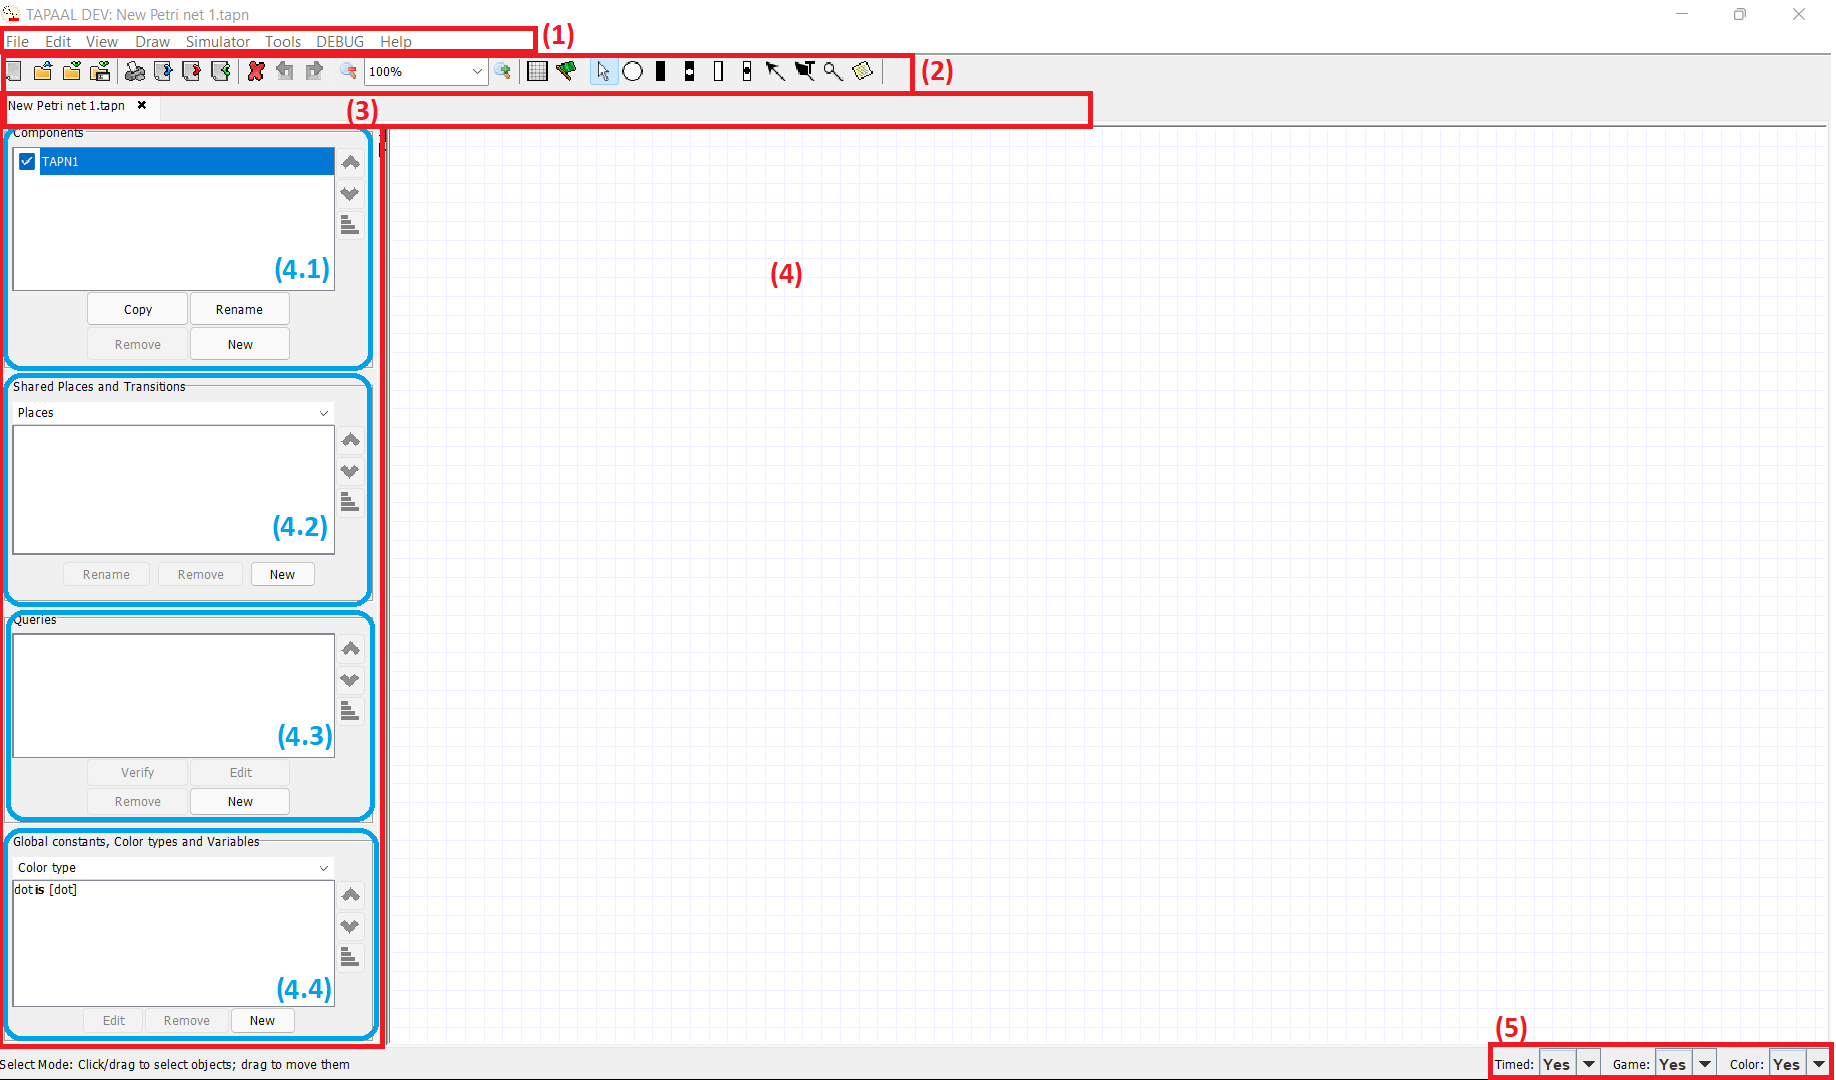
The TAPAAL Main Window consist of the following components (see figure):
- Main menu
- Toolbar
- Open tabs
- Side menu
- Drawing canvas
- Feature indicator
The content if each area will adopt based on the selected Petri Net features in the new net dialog.
The GUI consist of two main modes, editor mode aka. normal mode (shown above) and simulation mode (see section simulation). The current mode is indicated by the  button in the toolbar, when pressed (as in depicted) the GUI is in simulation mode.
In the following section we will break down each of the main areas further.
Main Menu
The main menu contains links to all features in the program, and is handy for looking up shortcut keys (written left of the action).
- Main Menu
Contains actions for opening, saving nets and for importing and exporting. The menu also contains the Example nets section, containing a number models showing off the features in TAPAAL. - Edit & Draw Menu
Contains features for drawing and changing nets, See more in section editor TODO: - Simulation Menu
Contains features used for simulation of nets, see more in section simulation TODO:
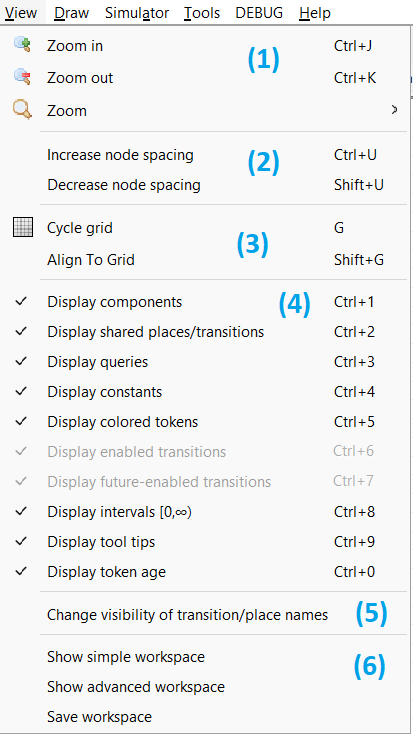
- View Menu
- Zoom: Controls the zoom level of the canvas
- Node Spacing: Add or remove spacing between all elements on the canvas.
- Grid: Cycle the grid size, including disabling the grid. Align to grid will move the position of all elements to align with the grid.
- Display: Show or hide specific elements in the side menu or drawing canvas.
- Change Visibility: Quickly change the visibility settings for all or selected parts of the current net.
- Workspace: Simple workspace is useful for beginners that want to hide as much complexity as possible. The advanced workspace will show all settings. Save Workspace will make TAPAAL remember your choices.
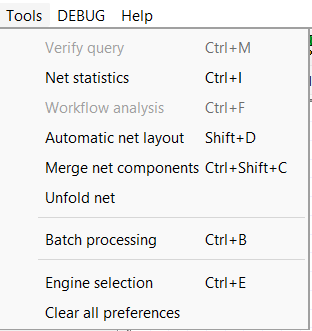
- Tools Menu
- Verify Query: verify the selected query, see section verification TODO:
- Net Statistics: Counts the number of places, transitions, arcs etc. in the net.
- Workflow Analysis: Open workflow mode, see section workflow nets TODO:
- Automatic Net Layout: Opens a dialog to automatically layout the components of the net.
- Merge Nets Components: Combine elements from components into a single component, see section editor for details about components. TODO:
- Unfold Nets: (Colors & Games only) Opens a new net where color and/or game features are unfolded.
- Batch Processing: Opens a specialized tool to run verification for several nets at the same time. See section batch verification. TODO:
- Engine Selection: Select a specific engine for verification, if you use UPPAAL for verification you will need to specify the path to verifyta here.
- Clear all preferences: Remove all stored preferences, on next star all settings will be back to default.
- Help Menu
Contains useful links to external resources related to TAPAAL including this documentation. Including developer credits and automatic version check.
Toolbar
The toolbar contains a quick alternative to using the Main Menu for a number of often used tasked.
The toolbar can be divided into five main sections:

- Section 1
- New net…
- Open Net…
- Save Net
- Safe Net As…
- Section 2
- Cut section
- Copy section
- Paste content of copy/past buffer
- Section 3
- Delete Selection
- Undo last action
- Redo previous undo action
- Zoom Out
- Select Zoom level
- Zoom In
- Section 4
- Select grid size/disable grid
- Start/Stop Animation mode
- Section 5
Draw tools, see details in section editor TODO:
Open tabs
Contains tabs for each open model. Switch between models by clicking on a tab. Use the (x) to close a tab.
Side menu / Workspace
The the side menus content depends on the current mode (here shown edit mode) and selected modeling features. The menu consists of a number of widgets, specific widgets can be shown and hidden from the “View” to fit your need.
In general a widget is marked by a border. The top dropdown menu allows you to select between different modes or values. Below is a list of values.
 In the button row you can add, edit or create new elements by selecting a element and pressing the appropriate button.
You can resize a widget to fit your needs, by dragging the border with the mouse.
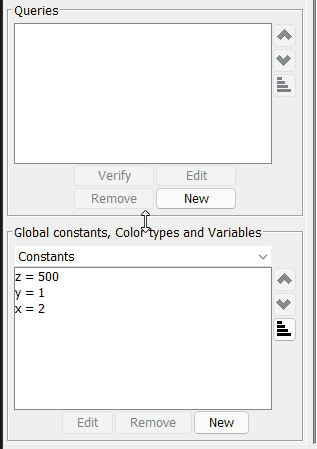
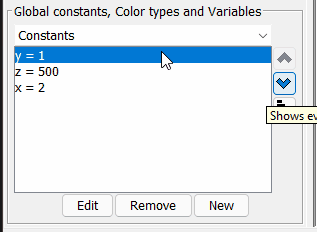
You can change the order of a list by selecting an element and using the up and down arrows to rearrange elements. You can sort the list alphanumerically by selecting the  icon. Notice that the sort icon might be hidden on smaller screen.
For more details about features of individual widgets please consult the following sections: editor, simulation, verification, components, constants TODO:
Drawing Canvas
This is the place you can draw and simulate Petri Nets. In editor mode you can select any place or transition of the toolbar and click the canvas to place them.
You can connect a place and transition by an Arc, by pressing a arc button on the toolbar and clicking between an place and transition.
To edit the properties of a specific place, transition or arc, you can double click it, or right click and select Edit
Navigation
If the net size exceeds the current canvas in size, you can use the scrollbars below and to the right of the canvas to move around. You can also navigate using the mouse scroll wheel or by right clicking and dragging on the canvas.
Zoom
You can increase or decrease the size of elements on the canvas by using zoom. Select a zoom level from the toolbar or main menu, or zoom using hotkey Ctrl + mousewheel or Ctrl + J / Ctrl + K.
Grid
By default TAPAAL will align all components to the grid. You can customize the size of the grid using the View - Cycle Grid menu option or by selecting hotkey G.
The grid cycles between 3 grid sizes and no grid. If a grid is used elements will automatically snap to the grid. You can also force all elements to align with the grid by selecting View - Align to Grid.
See more in section editor TODO:
Feature indicator
The feature indicator will display the current modeling features (and semantics) for the open net. You can at any time change the features available by clicking the feature indicator. A new net will be opened with the required modeling features enabled/disabled.
If you remove a feature, you will be prompted to confirm and the used feature will be removed from the net (best effort).